DIY Windshield Repair: Fix Rock Chips for $20 in an Hour
One of the most annoying things that can happen when you’re behind the wheel is another vehicle kicking up a rock and chipping your windshield. Though this is relatively minor, it is a bit of a safety hazard. Temperature fluctuations can cause chips to become super long cracks and eventually can affect your visibility and require the replacement of the entire windshield. So, if you’re looking to fix a rock chip yourself, here’s how to do it yourself quickly and easily!
This $20 DIY windshield repair kit is simple and can save you hundreds!

Automotive DIY legend Chrisfix outlined the use of one of these kits in a video. In the video, he provides step-by-step instructions to ensure you properly repair your rock chip and don’t have to worry about the damage spreading!
First of all, though, it’s important to determine whether your rock chip or crack is repairable. Chrisfix states that your windshield repair can only take place if there’s a hole you can feel with your finger that the repair resin can pass through. Additionally, there needs to be a visible air gap between the glass panes that will appear as a bubble for the resin to seep into. Finally, the damage needs to be smaller than a quarter for this repair to work effectively.
If your chip or crack is repairable, it’s a simple repair that only takes a few steps. The first and most important step is to properly prepare the damaged area for repair. Be sure to remove any loose pieces of glass still in the chip or crack so as not to interfere with the repair. Additionally, ensure that the damage and surrounding area are clean and dry.
The kit in the video includes an alcohol wipe to prepare the surface as it uses an adhesive pad as part of the repair. Most kits use some sort of adhesive or suction cup, so having a clean surface is important. This particular kit, though, uses a vacuum to ensure that the chip is fully filled with resin and repaired properly. So, it’s a good idea to go with this kit over others! Best of all, it’s only about $20 on Amazon.
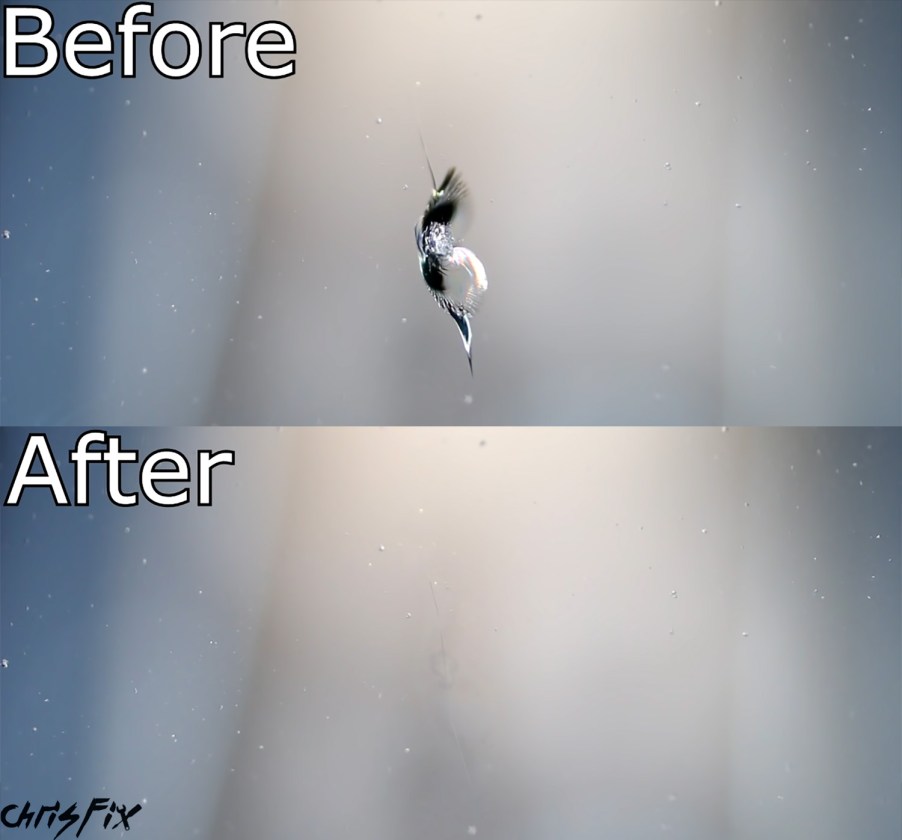
Quick and simple DIY fix

For the kit used in the video, it’s a very simple procedure once the windshield is clean. Users simply install the adhesive disk to the windshield and proceed to mount the included plastic pedestal to the disk. Then, it’s simply a matter of filling the pedestal with resin and using the syringe to create a vacuum chamber.
The vacuum effect does not pull the resin out as one might expect. Instead, it removes all of the air from the damaged area. This allows every nook and cranny to efficiently fill with the repair resin. The video does a great job of showing all of the air bubbles leaving the damage thanks to this vacuum setup.
Once the resin is sufficiently filling the damaged area, the syringe and pedestal assembly come off. Then, users simply apply a bit more resin to the damaged area and place the clear plastic strip over it to allow the resin to dry. The resin cures in the sun or UV light in just 15 minutes. However, in the shade or indoors, it can take up to an hour.
Finally, once the resin cures, all that’s left to do is pull the plastic strip away from the windshield carefully. Then, scrape away the excess resin. After that, simply clean your windshield and enjoy the fruits of your labor!
Overall, this procedure is easy and can be done by anyone! It can save you the cost of having a professional do the repair. Additionally, it can potentially save you hundreds by preventing a full-blown windshield replacement.
Be sure to watch the video for in-depth instructions!


