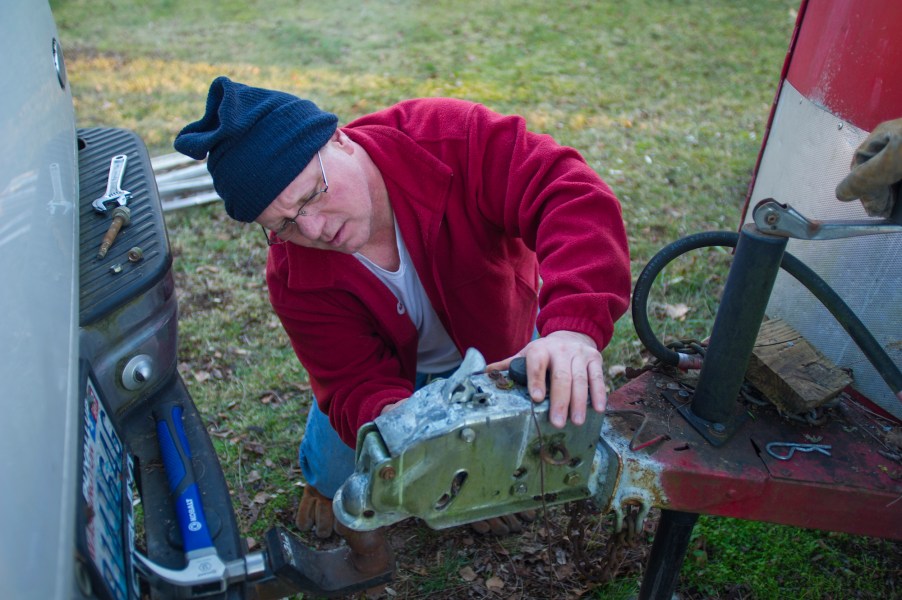
Can You Install a Trailer Hitch Yourself?
It’s important to choose the right vehicle and trailer combination to ensure a safe haul. But you also have to keep the trailer hitch in mind as well. Without the proper one, you could damage your vehicle or trailer. However, the question is, does a professional need to handle it, or can you install one of these towing accessories yourself?
Yes, it’s possible to do it yourself if you’re comfortable performing such tasks. Here’s what you should know about installing a trailer hitch yourself and the steps to accomplish it.
Is installing a trailer hitch easy enough to do yourself?

Installing a trailer hitch on a vehicle isn’t that difficult if you have at least a small amount of experience with automotive tinkering or repairs. If you don’t or simply don’t have the time, professionals from companies such as Curt Manufacturing and U-Haul can do the job for you.
Each type of vehicle will be different as far as installation goes, but there are a few things you might need to do if you install your own hitch. In many cases, you would need to remove the spare tire and lower the exhaust. You would also need to take off some of the hardware before lifting the hitch bar into place.
The last thing would be to torque the hitch hardware to the recommended settings. A job like this can take approximately 20-30 minutes, depending on how handy you are with the tools.
Choosing the right trailer hitch for your vehicle
There are many types of hitches, and each one is meant for a specific type of towing. So it’s important to choose the right one for the job you have in mind. One example is the gooseneck hitch used to haul gooseneck trailers that can handle heavier-duty tasks. Flatbed trailers are perfect candidates for a hitch like this.
There are also bumper-mounted hitches that are easy to install, but they don’t support much weight. You’re limited to what your bumper can support. Small camper trailers work the best for this type of job.
The most popular type of hitch, though, is the receiver hitch, which has a tube mounted to the frame of the vehicle. The hitch mount is then inserted into the support tube and pinned into place. Choosing the right one will depend on how much you can haul with your vehicle. Class ratings are given to indicate how much weight you can handle with it. Compact cars are usually rated to handle up to 2,000 pounds, so a Class 1 hitch would be the right one to get.
How to install it yourself
If you choose to tackle the job yourself, there are a few steps to follow to ensure it’s done correctly. The first step is to prepare for the installation. Make sure you have the proper hitch and all the recommended tools handy, such as a ratchet and a wrench, to name a few.
Then look over the instructions of your hitch type carefully so that you know what to expect at each stage of the installation. Place wheel chocks in front of your vehicle’s front tires, and jack up the rear. Ensure you have proper lighting so you can see exactly what you’re doing. Here are the steps for installing your receiver-type hitch.
- If you have a spare tire underneath the vehicle, you will need to remove it and lower the exhaust if the instructions if your hitch calls for it.
- The instructions will guide you to the location of the hardware you need to remove to install the support bar. Some vehicles may need drilling done or other parts removed in order to successfully install the hitch.
- Lift the support bar into place and attach the hardware by hand tightening them. If the bar is too heavy, be sure to get help.
- Once all the hardware is in place, you can start torquing each bolt to the recommended settings. You will usually need from 100 to 150 ft-lb to safely install the hitch.
Installing a hitch on your vehicle isn’t too difficult if you follow the instructions carefully and use all the right equipment. Be sure the hitch you choose meets your needs and doesn’t exceed what your vehicle is capable of towing.


