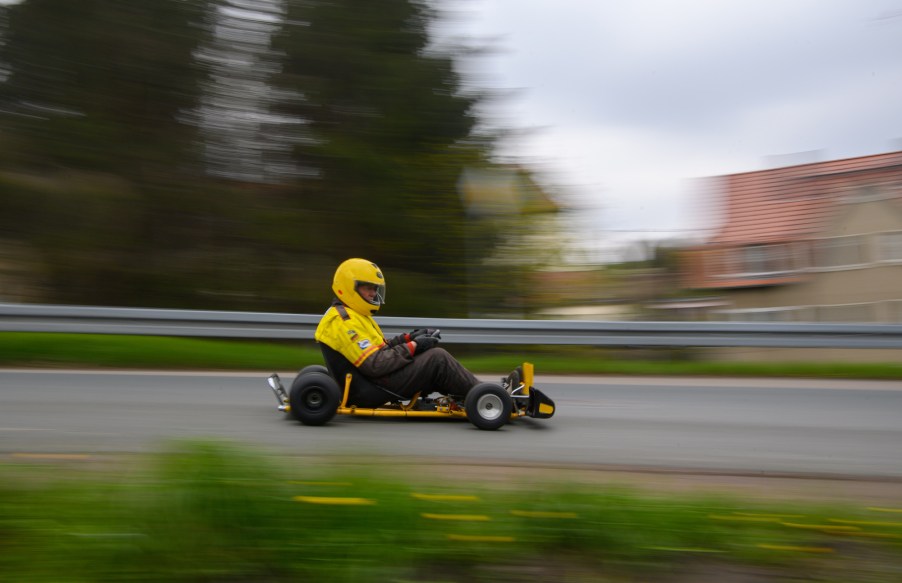
How to Transform Your Lawn Mower to a Go-Kart
Go-karts are fun to ride. Kids will appreciate having one to goof around with in the backyard. However, a new go-kart’s price tag may stray beyond what you’re willing to spend. Instead of going all out and spending money better spent elsewhere, why not take on a DIY project with the kids and convert an old lawn mower into a new yard kart? So, how can you make a go-kart, according to Mowers Boy?
What materials are we using?

Before you begin tinkering with the lawn mower, bring together all the tools, safety equipment, and materials you’ll need for your project. In addition to patience and concentration, you will need the following:
- A lawn mower engine
- Axle cog
- Driveshaft cog
- Chain
- Stainless steel sheet/plate
- Welding equipment
- Wheels
- Gloves
- Safety eyewear
- Drilling tools
- A pair of pliers
Once all materials are gathered, you are ready to start your next DIY adventure.
The beginning steps to creating your own go-kart
The first step in creating your go-kart is to remove the lawn mower engine. Disconnect the lawn mower’s spark plug wire to remove the plug for the oil drain; you can use a pair of pliers for this. Drain all the oil into an oil pan or an appropriate receptacle. Make sure the tank is completely empty.
Remove the gas tank’s lid and empty this vessel as well. You can tilt the mower to the side to get all the gas out. Mowers Boy also recommends finding the mower’s starter and detaching the cable from the engine. Access the underside of your mower by tilting it sideways. Use the socket wrench to dislodge the bolts that fasten the mower’s engine into place. On the crankshaft underneath the engine is the drive belt on the pulley. Remove it and store it well.
Get accurate weight and size measurements of the engine, and then prepare the frame for your go-kart. Most 5-hp and 7-hp engines fit a standard-sized kart. A proper go-kart frame should support the mower gearbox and the vertical shaft engine. Next, use chalk to design the true-to-size dimensions of the go-kart’s frame on a flat surface. It’ll give you a clear picture of what you’re going for.
Bringing the frame together
Begin by cutting the bumper’s frame and using a drill machine to make holes for tube padding. Round the bumper edges by linking the pieces that connect vertically to the frame and the piece that’s horizontally parallel to the frame’s back piece using a short 22.5-degree-angled connector. At the back of the bumper, make holes for the tube padding.
Make a 1-inch by 1-inch piece of square tubing, then weld bolts onto the ends. A 4-inch bolt is usually on the passenger side as the 6-inch bolt goes to the driver’s side. The axle goes underneath the frame’s base. Your kart’s floor should be sufficiently served with a 16-gauge sheet of metal.
Drill holes in it as per the original plan and use bolts to fasten the metal sheet on the frame. Procure a brace to help install the seat by welding it to the frame.
Then it’s time to install the steering, spindle bracket, brake tabs, and footrest. Slice a 4-inch by 11-inch gauge tube section and weld it onto the frame. It’ll be the go-kart’s steering tabs. Insert a 1-inch additional spacer loosely with the shaft near the steering hoops. Make three holes at the shaft’s end and maintain equidistance when drilling. Join the steering hoop assembly with the kart correctly. The shaft and steering hoop need a 90-degree angle held between them.
Next, install the kart’s throttle and brake. They belong at the front of the kart. Weld the front axle with the spindle bracket. This fixture should stay 1-inch over the axle. Make a footrest for your passenger using a rod. Then, use a hammer to bend it. Steadfastly, weld the rod with the kart’s frame to create a comfortable seating area for the passenger.
The mower engine should go over the motor mount. For this reason, the mount is welded at the back of the kart. You’ll then be required to join the brake tab and the guide bracket of the throttle cable to the frame. If the bracket is slightly bent, use a hammer to reshape it.
Using bolts, you can now put the seat into the go-kart by fixing it onto the frame.
Lastly, ensure to align the go-kart’s gearbox with the rear axle accurately, then attach it using bolts. The 16 teeth sprockets, used to regulate the transmission gear ratio, work best with the gearbox. Fix the manual drive belt between the gearbox and the lawn mower engine. You can get one at the local car store easily.
Attach the throttle to the carburetor using a throttle linkage cable. Finally, clean the tiny automobile to rid it of dust, and voila, you’re ready to put the pedal to the metal.
Precautions
Accidents can happen even when work is being done carefully. Try not to tempt fate by following simple safety guidelines. Be sure to wear the appropriate safety clothing and equipment when working on the go-kart, especially when welding. These include safety goggles, a welding helmet, gloves, and tight-fitting clothing. Ensure there’s no leakage from the fuel tank of the mower engine and fix any leaks before getting started. Let the engine cool as well before refilling the oil reservoir or fuel tank to prevent fires and explosions.
Lastly, when riding the go-kart, make sure everyone is staying within designated areas. The public roads are dangerous and illegal to ride on, as Go-Kart Guide points out.
The process may be lengthy, but this DIY project will save you a lot of money and give you endless hours of fun.


