UV Dye Oil Leak Detection: Finding Leaks Easily As a DIY-er
There’s no worse time in car repair than having a leak and not knowing where it’s coming from. One of the hardest things to track down can be a rogue oil leak. This is because so many seals within the engine hold back oil. There’s a virtually unlimited supply of objects the oil could be leaking from. However, there is a simple solution to finding an oil leak, and it’s incredibly affordable!
Oil UV dye makes finding leaks quick and easy

Most local auto parts stores like O’Reilly Auto Parts carry products like these for detecting leaks. Additionally, most of them have a kit that also includes UV glasses and a UV flashlight.
The kit consists of a fluorescent dye that glows under ultraviolet light. So, once it’s circulated into your engine’s oil system, you should be able to trace the leak by shining the flashlight around suspected areas. However, a couple of steps will help make this process much easier.
You should ensure your engine is as clean as you can get it. Oil from your leak tends to get everywhere when your car is driven. So, having that oil mixed in can make it difficult to know where to start looking.
A great way to get your engine block clean is to strategically unload a couple of brake parts cleaner cans on it. Make sure you’re doing this in a well-ventilated area and use proper protective gear. Brake cleaner can be pretty nasty, and you definitely don’t want to be inhaling those fumes.
Once the engine is clean, make sure that it has adequate oil inside of it. If you’re below the minimum oil line by quite a bit, you may not get adequate circulation. As counter-intuitive as it may seem, you want to ensure that your engine has plenty of oil to leak out when you’re trying to find the source of the leak.
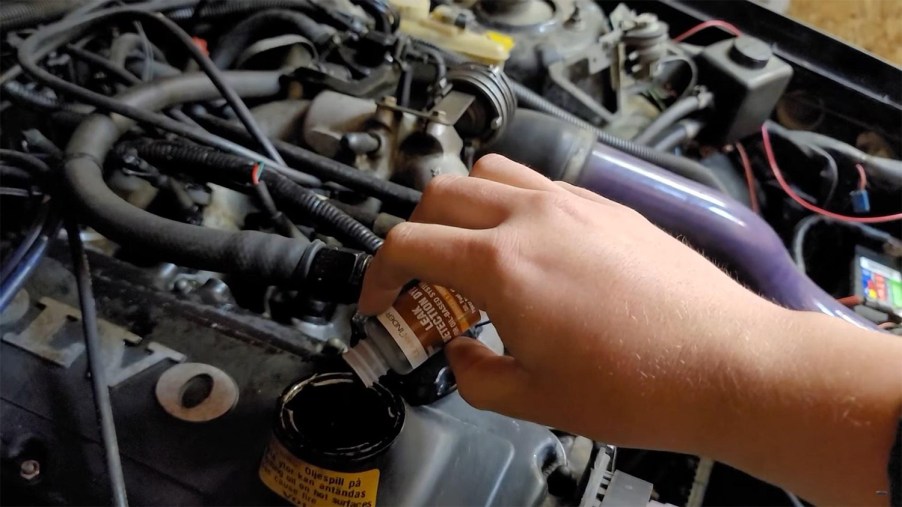
With the engine off, pour the recommended amount of fluorescent oil dye directly into your filler cap, where you top off your oil.
Now, time for some detective work

It’s at this point that a friendly reminder is necessary. Always take proper precautions for raising and supporting your car when you plan to work underneath it. The chances are that you will have to be underneath it to find your leak.
Use a proper jack and high-quality jack stands to keep the car supported. Ensure that the vehicle is firmly planted on all four corners and is stable on jack stands. This is a serious situation, and a car falling on you can and will kill you.
With your car properly supported, start the engine and let it idle for as long as it takes for your leak to show its face. It’s always a bit easier if your oil leak is substantial enough that it begins dripping relatively consistently with the engine running. However, more minor leaks may be harder to detect. So long as your engine has a proper amount of oil in it, there’s no harm in letting it idle for a few minutes to get the oil circulating and “properly” leaking.
Now, shut your engine off and bust out the UV glasses and flashlight. Start shining that bad boy every which way in search of bright green glowing oil. The leaks may not always stand out super prominently as oil can be sneaking past gaskets that seem relatively intact.
Common spots to check are the oil filter, oil cooler lines if your car has an oil cooler, between the engine and transmission bell housing (rear main seal leak), and behind the serpentine belt and crankshaft pulley (front main seal leak).
Additionally, leaks may be visible from the top if the camshaft seals or valve cover gasket is the source.
Now you’re doing car repair like a pro!
Unfortunately, finding the leak is typically the easier part of the process. Fixing it can be troublesome. However, at the very least, you now have a better understanding of where to start to handle this situation.
If you’re a DIY enthusiast when it comes to working on cars, having the proper tools is a tremendous advantage. A UV dye leak kit is certainly something you should keep on hand if you’re an at-home mechanic or car enthusiast. Best of all, all of the components typically come in at under $20!


